Steps of installation
IMPORTANT! Once you have received the package, please check all panels and close the package until you use them. Do not leave it outside for any length of time.


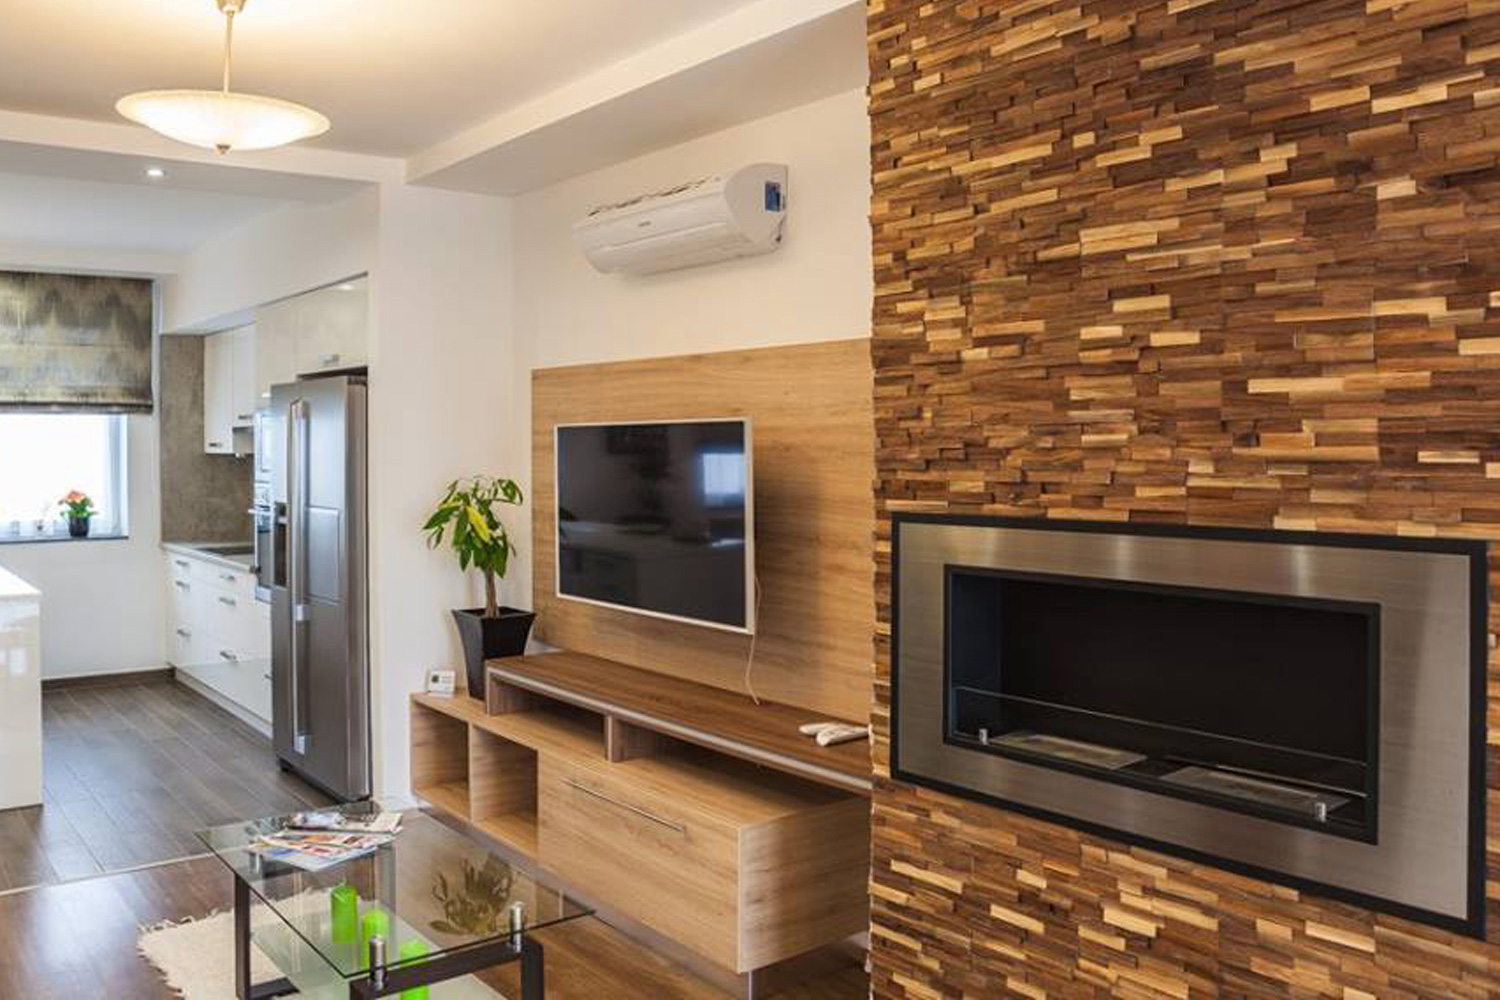
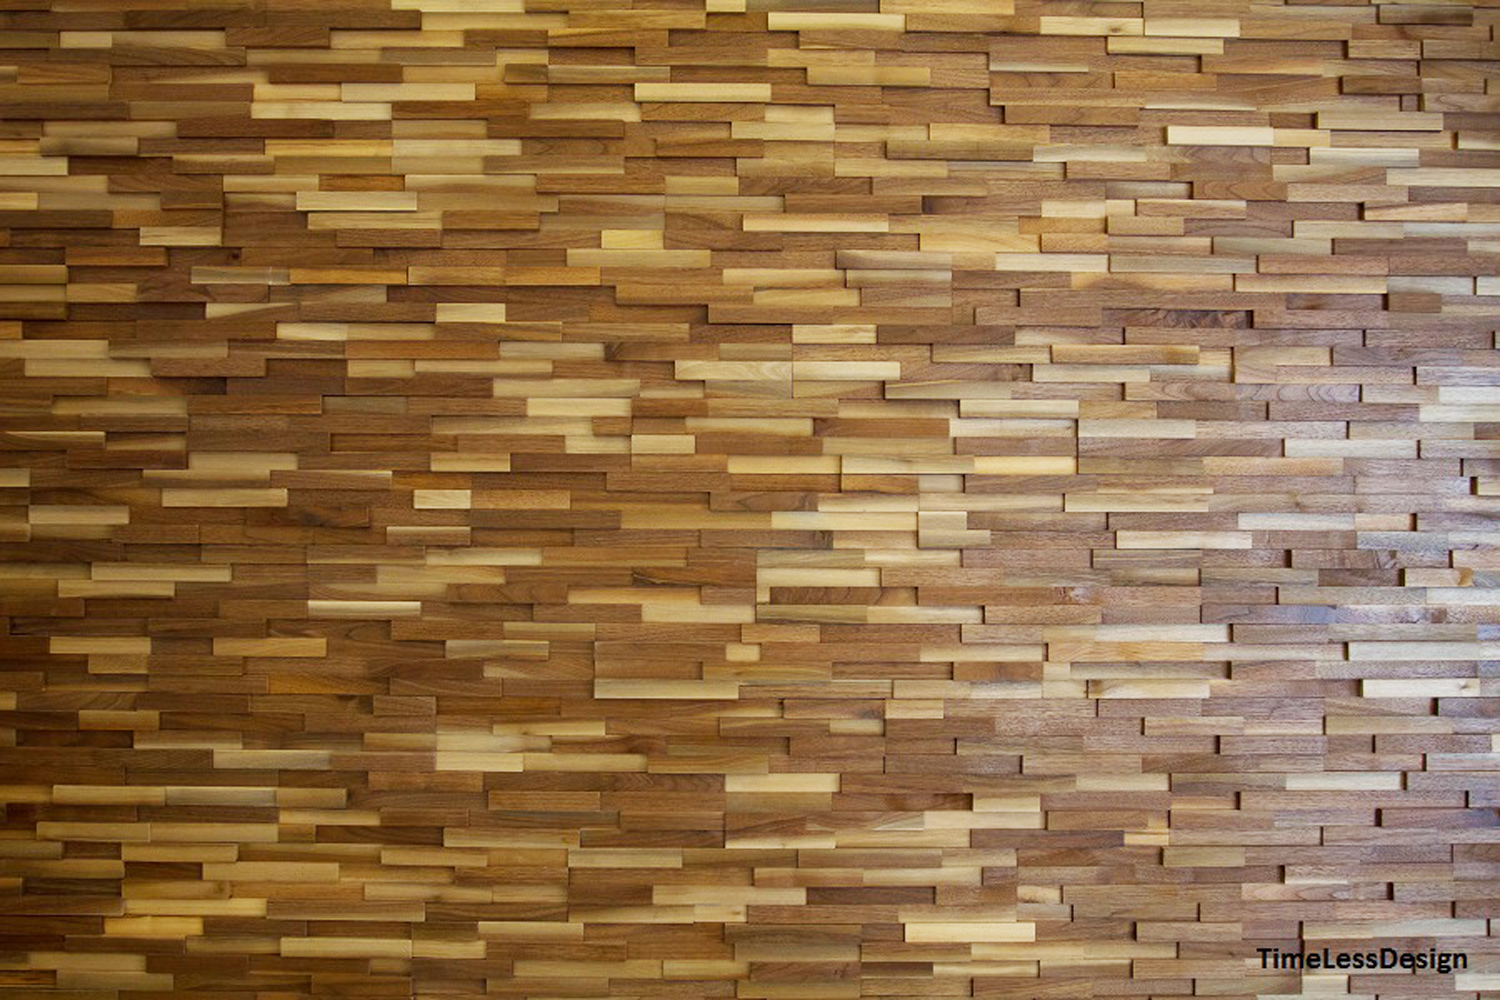
Fix it on the Wall: Usually it's very easy to fix the wall panel - just use a little adhesive as you can see on the photo and stick it on the wall. Be careful it's exactly horizontal, and watch that the panels fit together snugly. It can be fit vertical as well to achieve different effect. Try to follow a similar order as on the photo, so the gaps between the wall panels will be less visible and the wall will be a continuous surface. 2sqm / hour easily can be fixed, so it's really fast.
Cut the Panels, Create Corners: Wall Panels can be shorten to fit in at the edge of the wall, or cut it lengthways for the top line at the ceiling. After you cut it, you can use a hand planer to get the right size. It's very easy to cut the panels with a hand saw as well - but be careful. It has to be perfectly straight and right-angled. We recommend you order 10% more than you've calculated you need. For corners you can cut it 45° and put the pieces together to match the corner.
Please send us a photo of the finished wall that we can share on our blog and website. This would be an important inspiration for us and other customers! The best photos will be rewarded.
If you need any help with installation, please contact us.


